Showing posts with label DIY. Show all posts

06/10/2014

7 study tips + DIY

Hey guys! I'm back. I'm sorry for not writting here for some weeks but with back to school, I didn't have that much time. 

Let's start. Today I'm going to give you 7 study tips to make your life easier! It is a late Back 2 School entry :)

1. For your revision sheets, use colours if you can and make it neat so you "want" to read it. Colours help some people study, overall if they have a photographic memory.

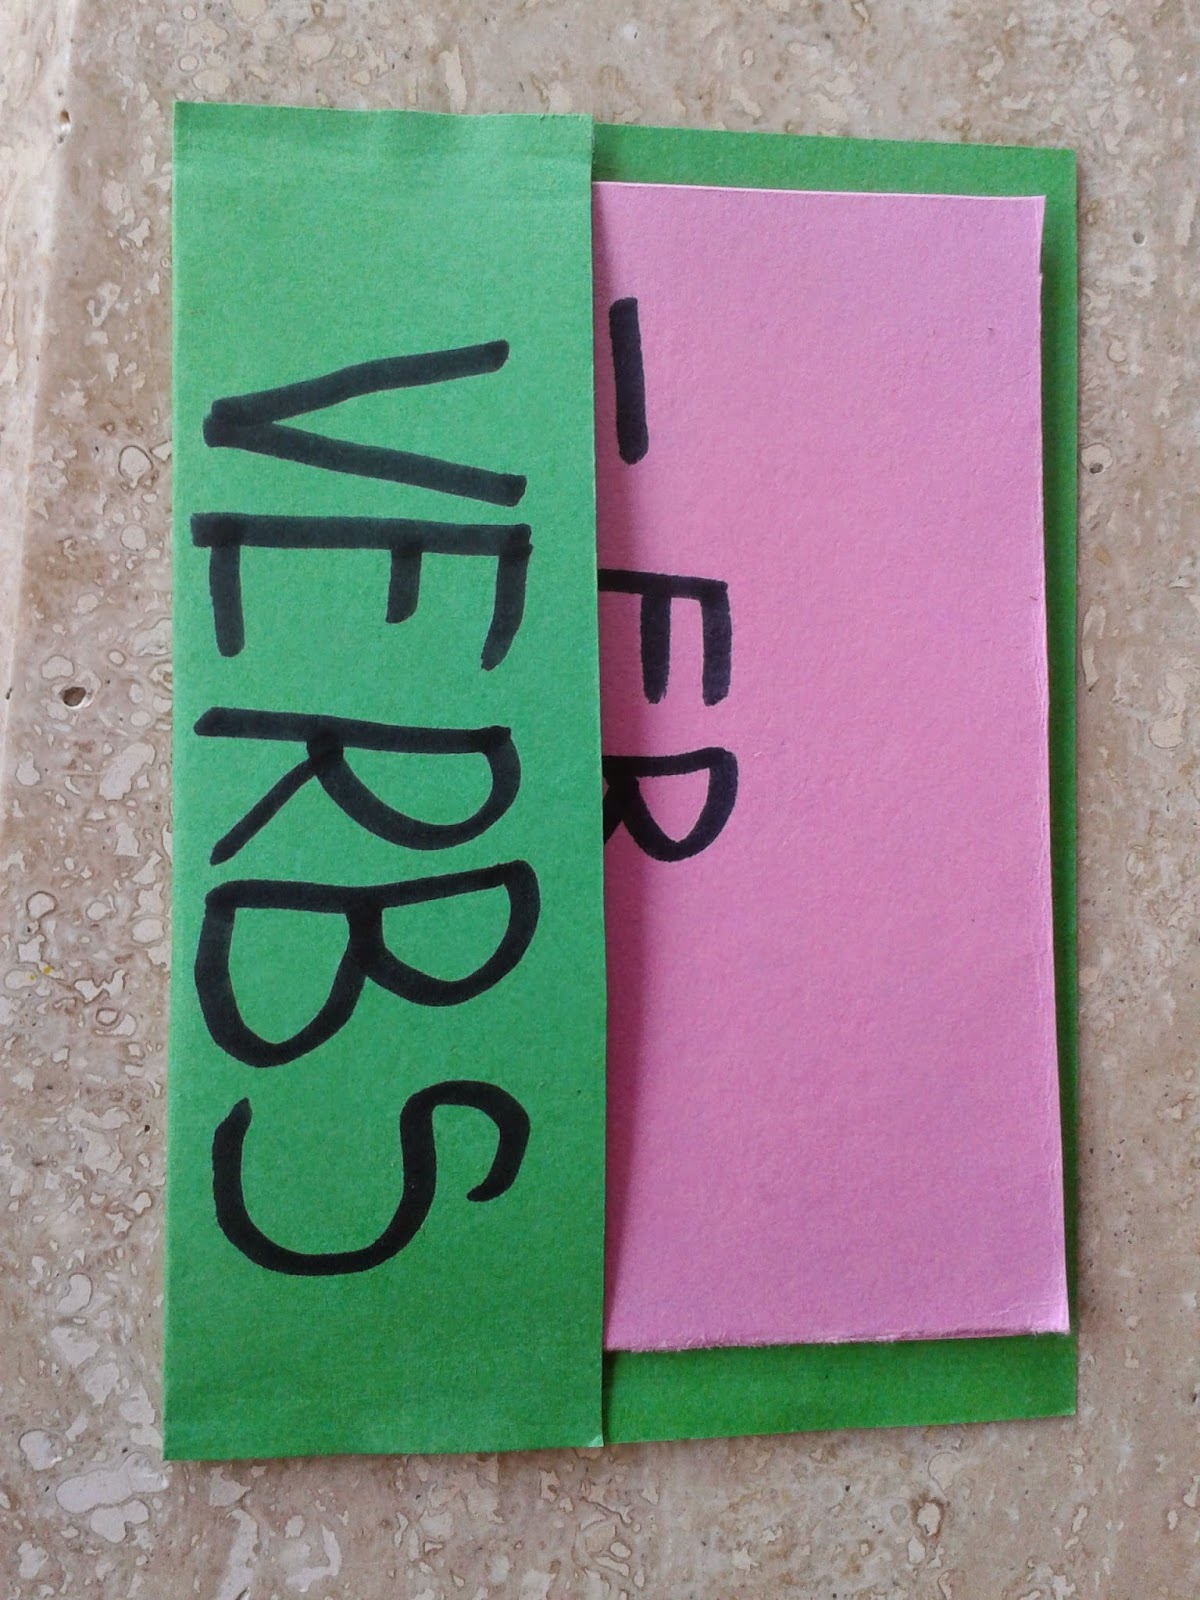
2. Make cards! Cards are easy to make. That's today's DIY, including a mini "folder" for these.

 Fold a coloured card in four or more and cut each box out

Fill them with info

Now draw something like this for the "folder". The upper part is half the card's lentgh. The under one is the card's entire area. Add 1/2 cm to each side. Cut it out and fold it correctly. Stick the 1/2 cm extra (left and right) of the upper part to the other one.

  
You should end with something like this. 


3.Test yourself. Make up tests or even better, if the teacher gives you some kind of practice test, do it. 

4. Use things you like. Make up a song if you like singing, a dance if you like dancing, diagrams or little drawings if you are more creative  and have time...

5. Make it EASY! Use tricks if possible. If not, try to relate the information you are given to yours. Dates, names....

6. If you studied or read what you need before and understood most of it, read it again before going to sleep (but not while watching telly! B-D ) 

7. Take a little break. Remember, you can't just get LOADS of information at once and just keep it in your mind (well, mabye yes, if you're super concentrated and stuff) but you need breaks. 

Mabye just 5-10 mins every 2 or 3 hours if what you're studing is quite hard while you eat something. Just sit and relax a little. You can even read the text again but slowly, calmed and relaxed.

Well, that's all for my 7 study tips. Hope you liked them and I hoped they helped.

Bye! Have fun studing!

14/09/2014

DIY Decorated Bag

Hey girls! Today we're making an ordinary bag look beautiful in 3 steps, ¿how? keep reading.

 But first, what we need...
                         - A plain fabric bag                         
- Printed Fabric 
-Pom pom tassels
- Scissors
- Needle and thread


The bags can be like these ones. (This is pic isn't from this blog)

Anyway, Let's start!
 1. Cut pieces from the printed fabric that you like. As many as you wish.
2. Sew them to your bag. The pieces may overlap or just stay spread out over the bag. You can also decorate both sides with the fabric, not just one!
3. Last, but not least, grab your pom pom tassels and sew them on the top of your bag. It's better if you do this all around the top of your bag (both sides).


This is how I decorated my bag. I decorated this bag and made from zero the one I'm gonna show you now in Patchwork classes.


I put this little purse inside the bag with a hoop 'connected' to the chain. I love these bags!

Well, that's all for today. Hope you liked it! 

10/08/2014

How to spice up your room - Back to school edition

Hi everyone! So today I decided to do a themed entry. It's a back to school edition of how to spice up your room. I called it like this because most of the things are going to be for storage.

First thing's first, get your material organized. In this case, your pens, pencils and all that stuff. 
To get that stuff organized I made this cute American, 4th of July - inspired jar.


You can learn how to make this jar here.

Now. Sometimes we need some biscuits or sweeties stored in our room, to help us study or just to eat something. For that I have 2 things.

1. This cute "candy machine". There are loads of videos on youtube on how to make this. But it's really easy. 
 First, you paint or spraypaint a pot, a plastic plate (or the "plate" which goes under the pot") and a ball (wooden, plastic.....) doesn´t really matter. Then, you get a little fish bowl (or whatever it's called :D ) and stick it's bottom part to the pot's bottom part with white silicone. You also stick the ball to the center of the bottom part of the plate. Then, you place the plate over the fish bowl and done.

Anyway, let's continue. 

2.This (also cute) plastic cupcake box (it came with candy and was a gift) in which I store little treats. But you can always store school supplies. I have it in my night stand.


Today's last thing is only for deco. Silicone cupcakes! (Two of them are made from hot glue)
 You can learn how to make the hot glue ones here.

Well, that's all for now. I hoped you liked it. Bye!